ARDUINO
Why Arduino simple
Arduino creates a free-source electronic platform that offers easy to use hardware and software.
The problem with other microcontrollers is
a hardware setup, they don’t have any compatible designed
microcontrollers. So it takes some time and a little bit complex another thing
this is program implementation is a critical task for those who are poor in
programming .
These problems can overcome by Arduino. At first
Arduino, the team used the ATMEL-AVR microcontrollers they are developing a
microcontroller PCB with an AVR microcontroller. This PCB board isvery simple to handle and easy to interface
with any electronic components. Next ,they release the open-source coding
platform for Arduino.
Due to this flexible PCB microcontroller board
and free coding source, it is very popular in the digital market, so even
non-engineers also easily implement digital projects using Arduino. Arduino
simplifies the work of the microcontroller.
Nowadays, Arduino
plays a key role in learning new things, hobby projects, and product
development for any freelancers.
Arduino platform:
- IDE: Arduino IDE
- Programming language: C/C++, Java
Arduino platform can be subdivided into a different type of
microcontrollers such as
- Arduino Uno
- Arduino mega
- Arduino mini
- Arduino pro mini
- Arduino nano
- Nodemcu
- Esp-32
- Arduino Leonardo
- Arduino Lilypad
What is Arduino Uno
Arduino Uno was designed by using ATMEGA-328p
microcontroller, it is an AVR family
What is ATMEGA-328P
The ATmega328 is a
single-chip microcontroller created by Atmel with inside the MegaAVR family, later Microchip Technology obtained Atmel in 2016.
The alternative to
the ATMEGA328 is “Pico power” MCU
(ATMEGA328P)
- ATMEGA-328
- ATMEGA-328p
- ATMEGA-328PB, ATMEGA-328PB (AUTOMOTIVE) advance to the ATMEGA-328P(more UART, SPI, Memory)
Technical specifications
|
Processor |
8-Bit AVR-RISC |
|
Microcontroller |
Atmega-328p |
|
External Oscillator |
16Mhz |
|
Flash program memory type |
Enabled |
|
Flash memory |
32kb |
|
EEPROM |
1Kb |
|
SRAM |
2kb |
|
ADC |
10-bit (6 channels) |
|
Performance |
1 MIPS per 1 MHZ |
|
Write/erase cycles |
flash =10,000 EEPROM=100,000 |
|
Timers |
2-8bit, 1-16bit Timers |
|
Pins |
28(DIP),32(TQFP) |
|
Operating voltage |
5v |
|
Supply voltage |
7-12v |
|
Operating temperature |
-40 ͦC to +125 ͦC. |
|
PWM channels |
6 |
|
Communication |
1-UART, 2-SPI, 1-I2C |
|
Current rating for 3.3v pin |
50ma |
|
I/O pin current ratings |
40ma |
Board description
1. Digital pins 14, and these pins designed for specific functions such as
- Serial communication: 0,1
pins are UART Communication pins 0(RX), 1(TX)
- External Interrupts: 2,3
pins can be used as Interrupt Pins
- PWM pins: 3,5,6,9,11
are acts as Pulse width modulation pins
- SPI communication: 10 (SS), 11
(MOSI), 12 (MISO) and 13 (SCK) these pins are
used for
SPI communication
2. It has 6- ADC channels from A0-A5
- ARef pin – Analog voltage reference pin
3. TWI communication: A4
(SDA), A5(SCL) for TWI communication
4. Vin – by using this
pin you can directly apply the regulated 5v to this pin.
5. 5v pin
6. 3.3v pin
7. GND pin
The ATmega16U2 chip
on the Arduino board acts as a bridge between the computer's USB port and the
main Arduino processor's serial port. Previous versions of the Uno and Mega2560 had
an Atmega8U2. It runs on a software called firmware (so named
because you couldn't change it once it had been programmed in the chip) that
can be updated through a special USB protocol DFU (Device Firmware
Update).
NOTE: Serial communication (UART)
pins 0,1 are used for program dumping purposes. If you are using serial
communication then don’t use these pins for digital I/O functionality. So don’t
make any connections to UART pins.
How to use Arduino IDE
DOWNLOAD: Arduino IDE, Driver software (CH341SER) for
Arduino-SMD(TQFP)
- Install the Arduino IDE.
- Connect the Arduino board to your laptop.
- Open Arduino IDE and choose the correct board you are
using by selecting
Tools > Board > Arduino/Arduino Genuio
Uno.
- Now select COM port number (ex: COM3) from Tools>Port>Com
xx.
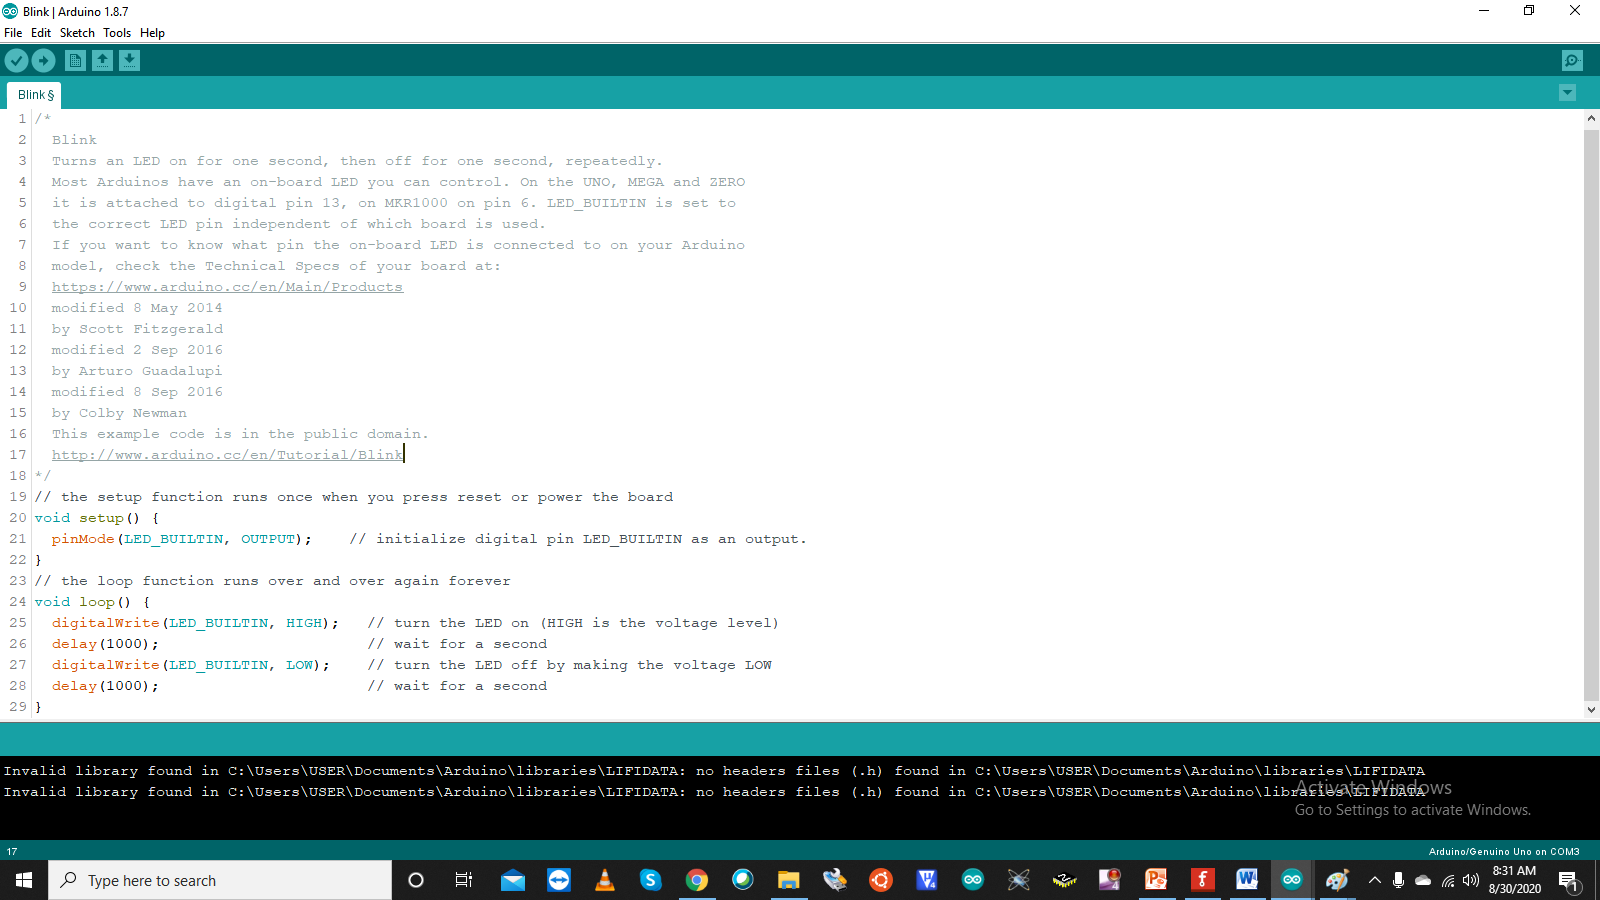
PROGRAM: LED Blinking program-Inbuilt led is connected to 13-pin
 |
| Arduino_LED_BLINK_Program |
Reference
>>>HOME-TechnoElectronics44>>>


0 Comments